How do I wire up a 2008 R1 R/R? 3 wires + second connector..

VMAX  Forum

Help Support VMAX Forum:

This site may earn a commission from merchant affiliate links, including eBay, Amazon, and others.

nidyanazo

Well-Known Member
Joined
Aug 26, 2013
Messages
114
Reaction score
2
Location
Beverly hills
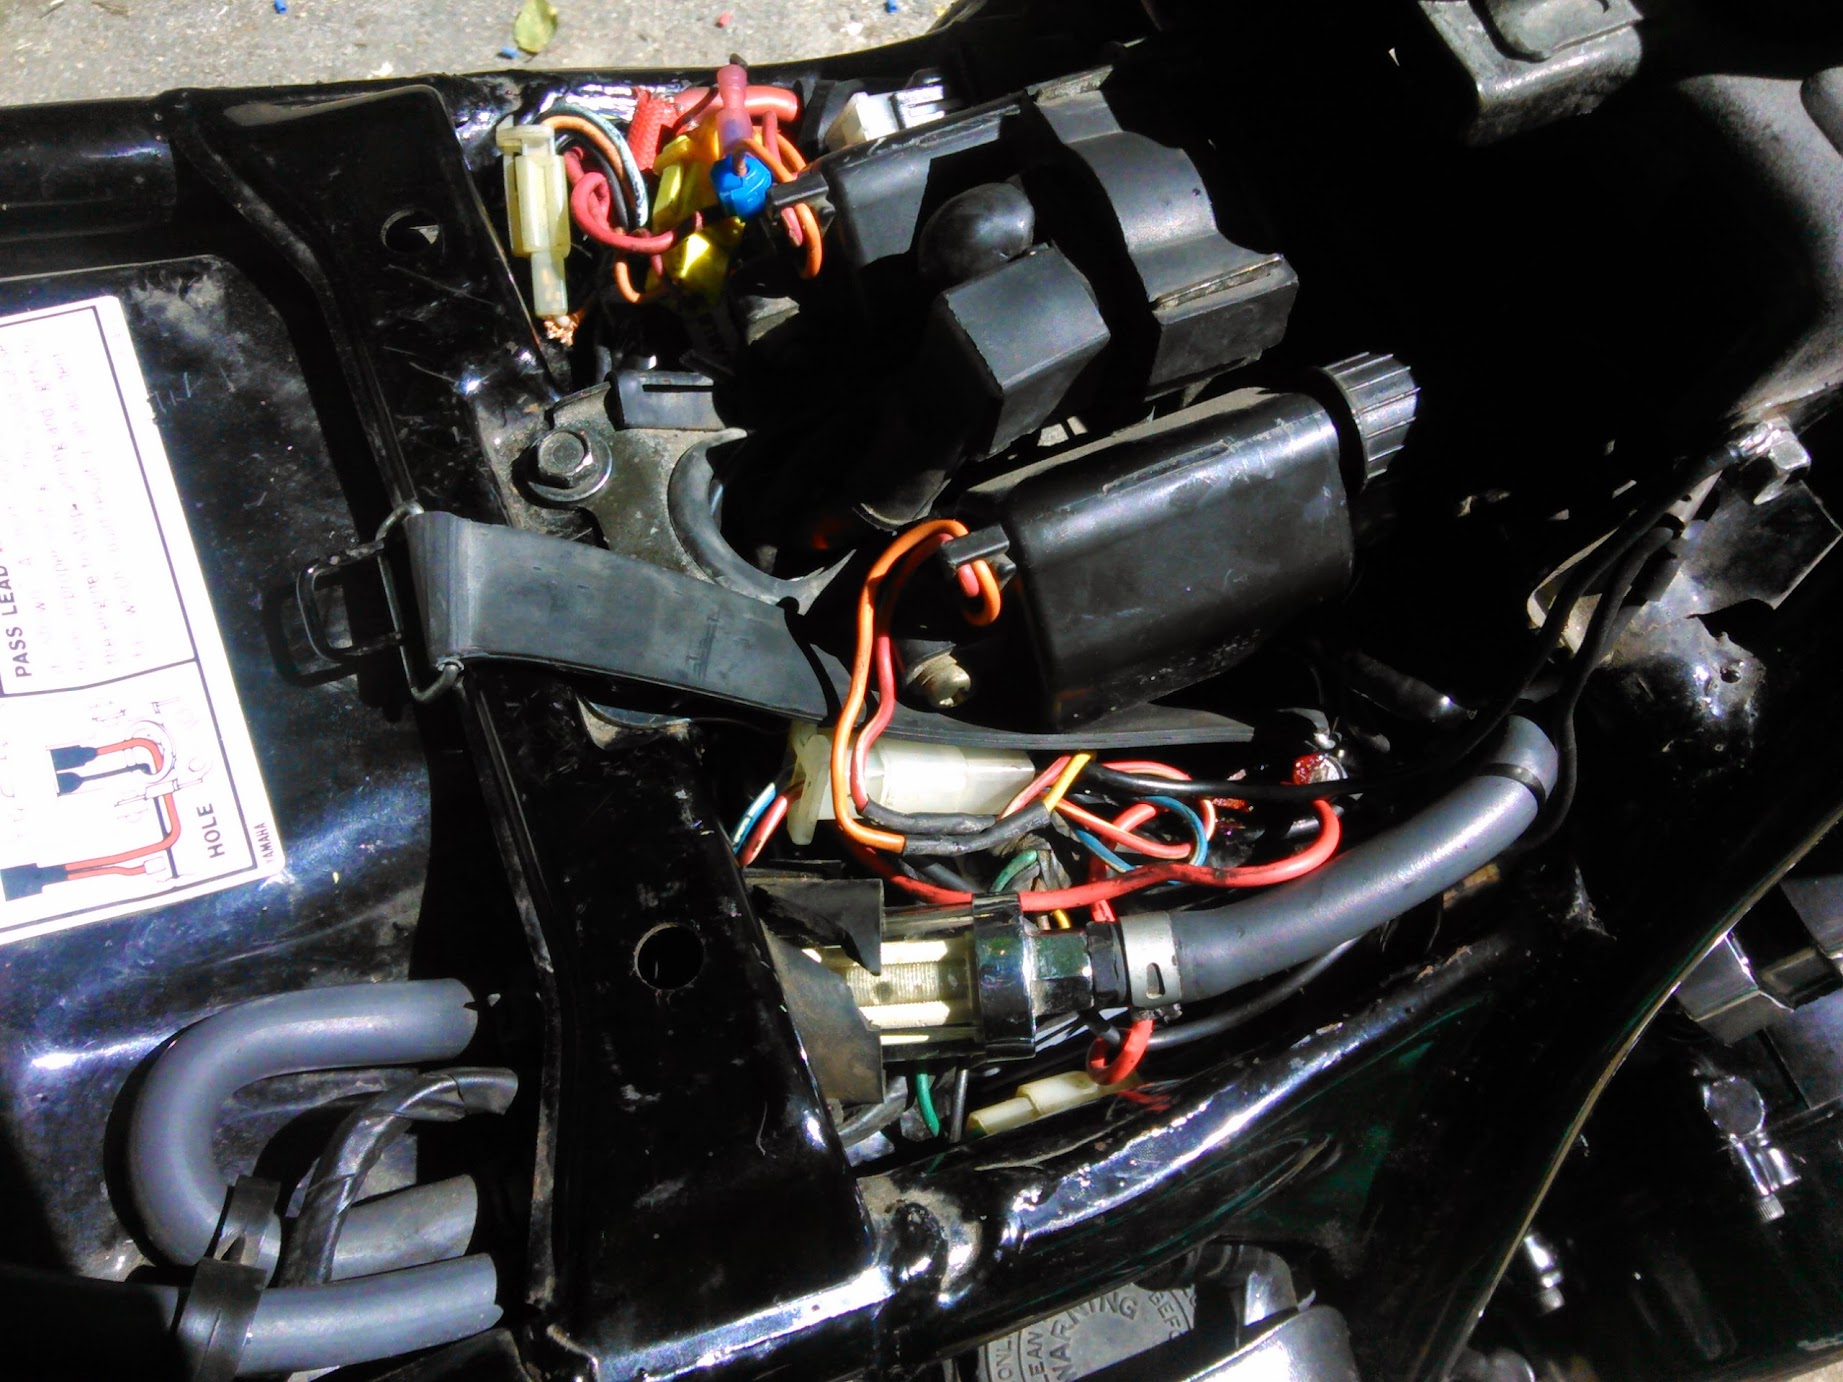
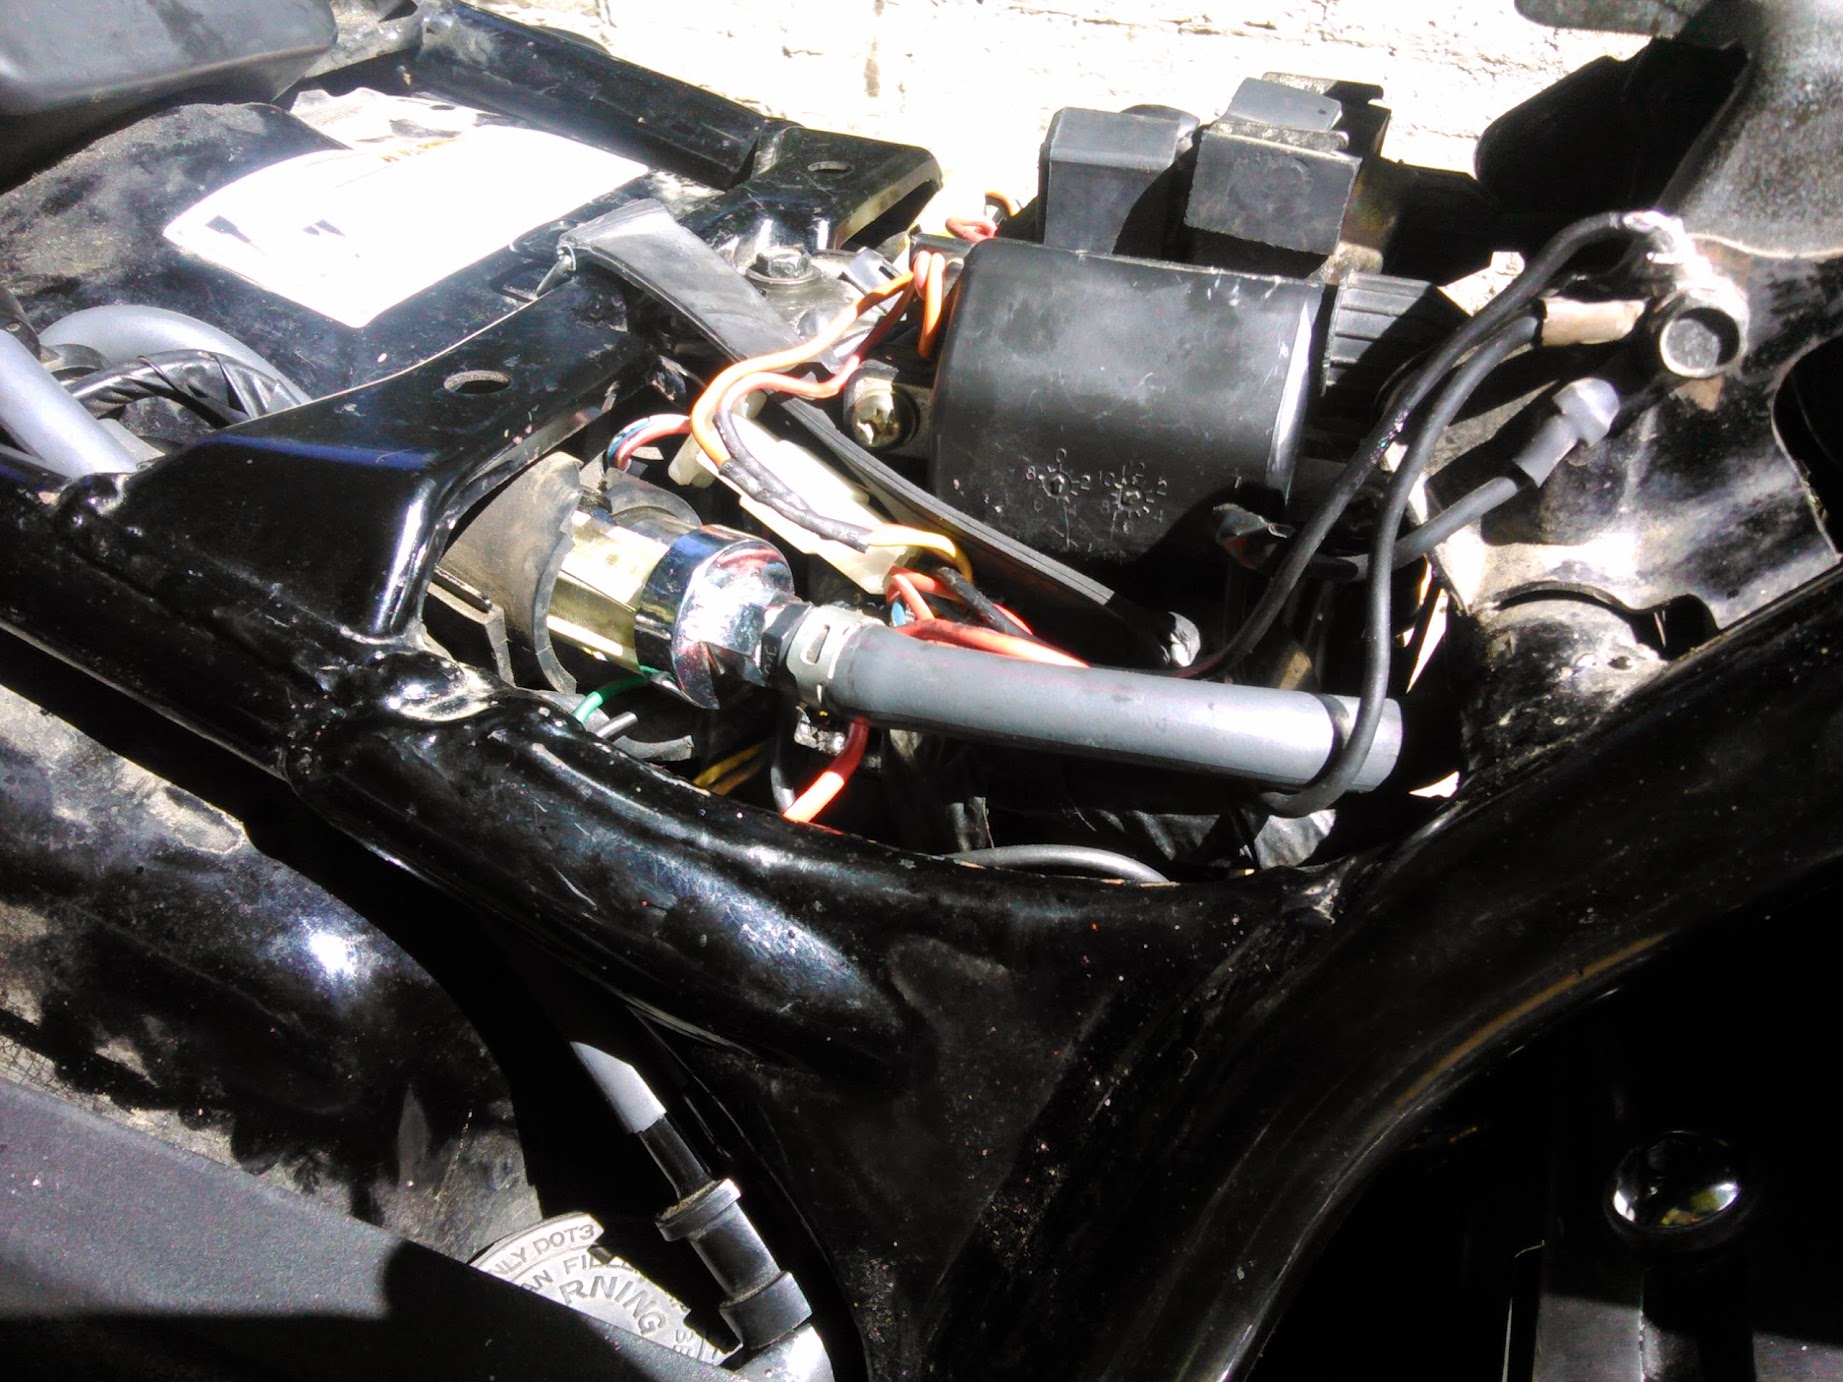
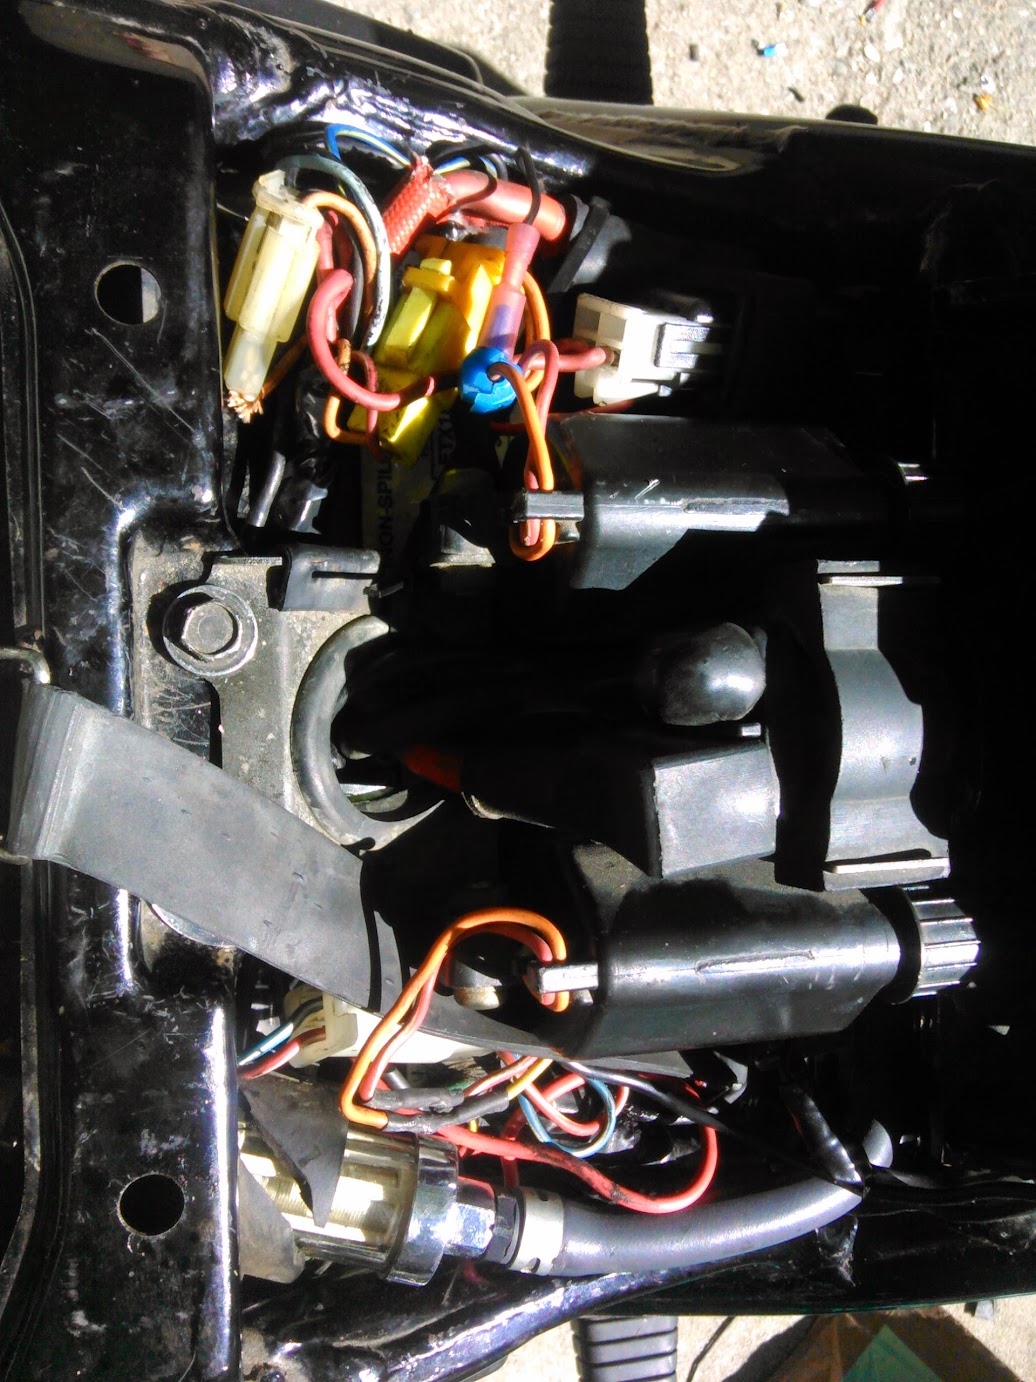
I heard of people swapping out the R/R for the R1 version.. I got the 2008 R1 R/R, but cant find and write ups on how to install it. I see it has 2 plugs- on the left plug it;s 3 wires of all the same color, and the other plug is a red and black wire.

So adapting it to my 91' max', do I just solder the 3 wires on, then connect the red and black wires directly to the battery? :ummm:

Thanks fellas'!
 
Here is the thread that you are looking for.

http://vmaxforum.net/showthread.php?t=19108


Awesome! Thanks for the link! So my guess was right, 3 wires to the stator, and the red/black hook up to the battery direct. I've done all the other wiring mods, eliminating redundant connectors and the crimp, so this will finish off the electrical system upgrades. Thanks again bud!
 
Info more....
 

Attachments

  • FH012AAWIRING1.jpg
    FH012AAWIRING1.jpg
    27 KB · Views: 24
  • vmax rr.gif
    vmax rr.gif
    19.9 KB · Views: 32
  • vmax rr (1).jpg
    vmax rr (1).jpg
    60.4 KB · Views: 25
  • vmax rr (4).jpg
    vmax rr (4).jpg
    64.5 KB · Views: 22
Ok i ran into a problem... I cut the 5 wires going to my stock R/R.

3 of them are the stator wires, but the other 2 are red and black wires that lead back to the wire harness.. What should I do with those?
 
Looks like one of them was a ground- but I have a "4 wire" R/R, which is 3 stator wires, and one red wire... So where should that red wire go?
 
The red wire should go to the positive side of the battery.
 

Attachments

  • vmax rr.gif
    vmax rr.gif
    19.9 KB · Views: 8
Looks like the red wire runs back to the "splice" and the 30A big fuse next to the battery... and the black is a ground... So I should just be able to hook those up into the new R1 R/R along with the 3 stator wires and be all set... No need for a new 30A fuse, it'll just utilize the stock one!
 
The red wire should go to the positive side of the battery.


What I mean is the red wire that was originally attached to the stock R/R.. That I cut.. (see my last post) That wire is now loose, and runs back to the "crimp" and the stock big 30A fuse right next to the battery... I should be able to just hook it into the new R1 R/R along with the ground, and be okay.... What do you think?
 
Well something is not right because now when I turn the key, there is NO POWER at all to the electrical system. no lights, no horn, no fuel pump, nothing.
 
Can you post a pic of your set up....that way everyone can "see" how things are hooked up?
 
I just hooked back up the old R/R, and turned the key. NOTHING. It rode perfectly fine this morning, right before I started this project. Is there some "master fuse" I could have blown? All the little fuses are fine.
 
Well something is not right because now when I turn the key, there is NO POWER at all to the electrical system. no lights, no horn, no fuel pump, nothing.

Check 30 fuse amp make sure it did not pop....

Each stator is hook up 1 on 1 3 wiring hook up

Plus from battery to inner spade on r/r
Negative battery ti outer spade on r/r
 

Attachments

  • RectifierMod010-1.jpg
    RectifierMod010-1.jpg
    76.6 KB · Views: 19
  • vmax rr (6).jpg
    vmax rr (6).jpg
    68.1 KB · Views: 17
Yup. one of the 2 main 30A was blown. Now hooked up the new RR and getting 13.9V at idle, up to 14.2-14.4V at 2500,3000rpm. Sweet. I'll post pics tomorrow. Thanks guys!
 
There is only one fuse in the 30A fuse block. The other is a spare... TIP: Carry a couple more. They don't go too often, but yer screwed if you are messing with the wiring, and you blew the spare you used earlier. Just tape them with a bit of duct tape under the seat somewhere.. Trust me... (enough said!)
 
Check the main 30amp fuse over top the battery on the lift....

My r/r is connected the yellow spade going to the fuse 30 amp then to the battery.

My r/r install like this my stator wiring is running around the right side near the top of the gas tank.

R/R wiring is running around the right side to the battery my 30amp fuse is install on the plus side wiring of the stator screw in to the frame under the fake tank in the picture it's on the lift side red wiring black case is the r/r fuse.

Install a added ground wire to the frame clear wiring...
I also install cushion over top of the battery under the coils so battery won't bounce and hit it.

See pictures...
 

Attachments

  • vmax rr install (21).jpg
    vmax rr install (21).jpg
    48 KB · Views: 17
  • vmax rr install (23).jpg
    vmax rr install (23).jpg
    59.7 KB · Views: 17
  • vmax rr install (11).jpg
    vmax rr install (11).jpg
    66.4 KB · Views: 16
  • vmax rr install (17).jpg
    vmax rr install (17).jpg
    78 KB · Views: 19
  • vmax rr install (13).jpg
    vmax rr install (13).jpg
    77.8 KB · Views: 17
  • vmax rr install (30).jpg
    vmax rr install (30).jpg
    53.5 KB · Views: 19
  • vmax rr install (28).jpg
    vmax rr install (28).jpg
    52.9 KB · Views: 18
  • vmax rr install (27).jpg
    vmax rr install (27).jpg
    66.2 KB · Views: 19
There is only one fuse in the 30A fuse block. The other is a spare... TIP: Carry a couple more. They don't go too often, but yer screwed if you are messing with the wiring, and you blew the spare you used earlier. Just tape them with a bit of duct tape under the seat somewhere.. Trust me... (enough said!)


Good call bill. I spent an hour getting everything all neatly wired up just to turn the key and......Nothing.

homer-doh-tipping-app-review.gif
 
Hey Redbone, That mounting under the scoop/cover for your R/R is brilliant! Really clean looking setup ya got there man. I never thought it would fit under there! Now I'm going to have to move mine lol.

Well i added extra ground straps, and a high flow fuel filter with clear sight and cleanable. Here's the pics (nothing to great, but the charging voltage is top notch, and the starting perfect, so I'm happy!) I was able to optimize the stock wiring, and utilize the stock fuse- so no extra wires. I shortened everything as much as possible, removed redundant connectors, and eliminated the crimp.

Just in case, I also have a quick connect battery charge connector under the seat that tucks up and away nicely too.

IMG_20140606_095234_285.jpg


IMG_20140606_095228_810.jpg


IMG_20140606_095213_366.jpg


IMG_20140606_095155_814.jpg
 
Back
Top