


HyperPete
Well-Known Member
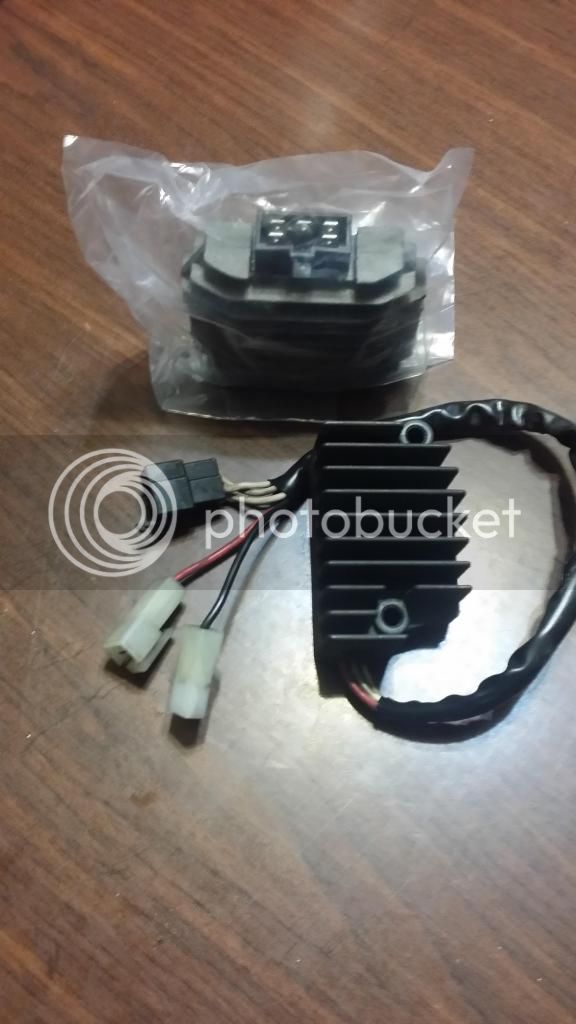
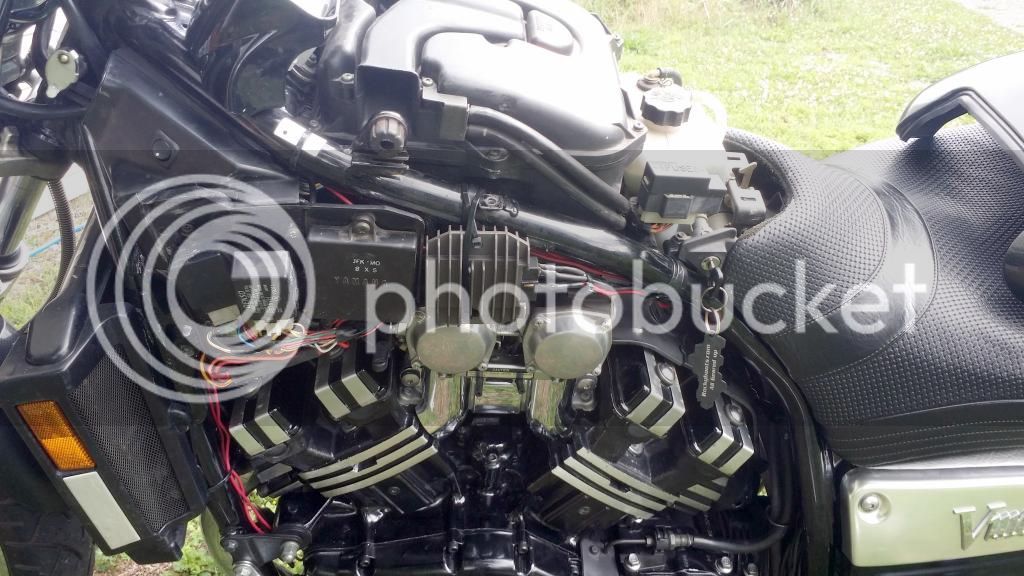
I'm looking for a how-to for replacing the stator and R/R. I have the parts and will be tearing into it this afternoon, just hoping to find a how-to with pics before I start. I tried searching, but did not find one.
Thanks in advance!
Thanks in advance!


 unk:
unk: