X-iled's Vmax - Streetfighter project

VMAX  Forum

Help Support VMAX Forum:

This site may earn a commission from merchant affiliate links, including eBay, Amazon, and others.
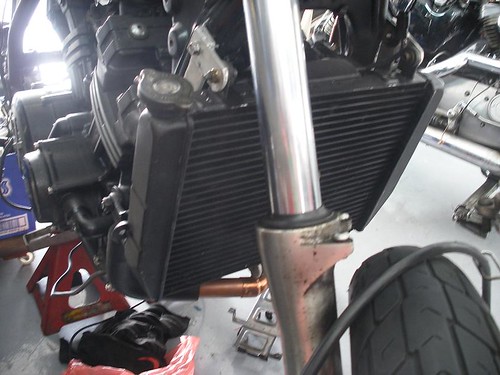
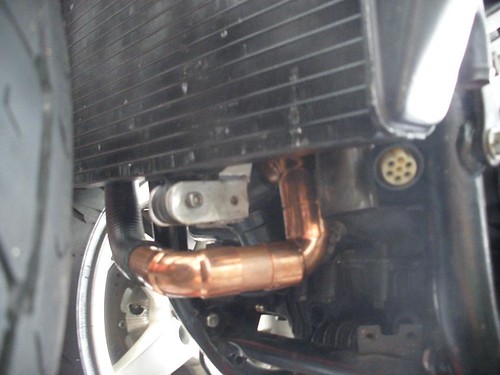
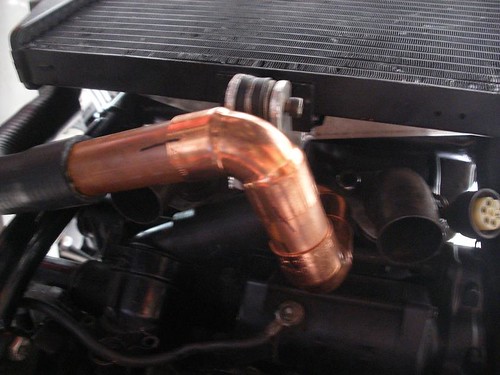
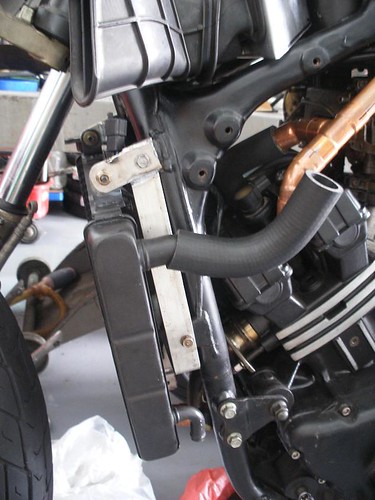
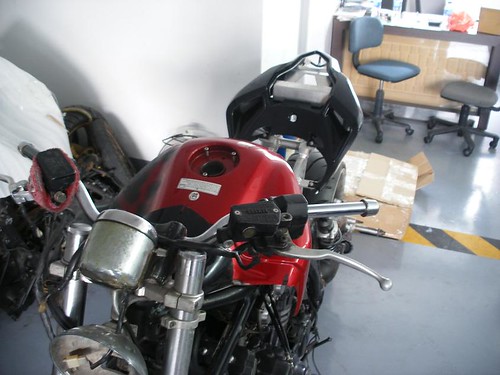
ok.. got abit of updates..

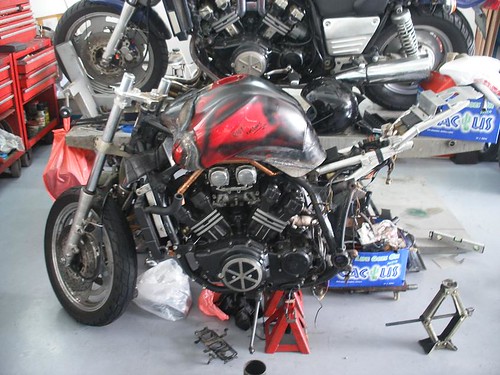
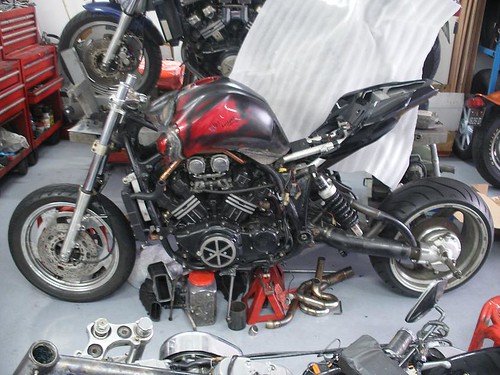
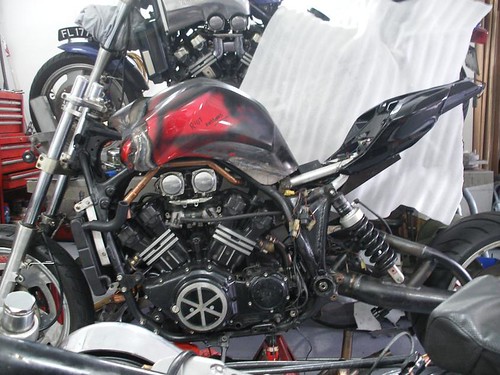
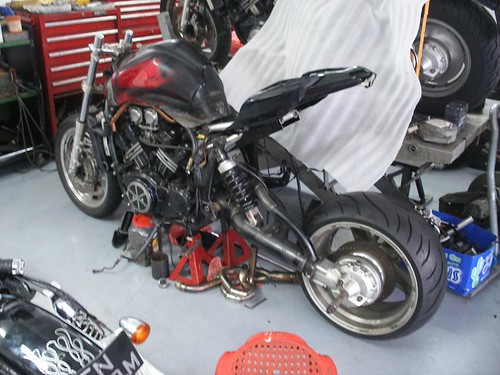
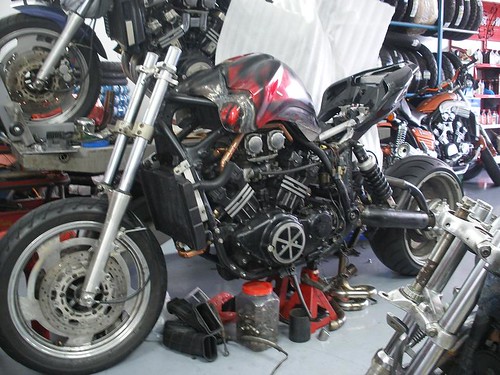
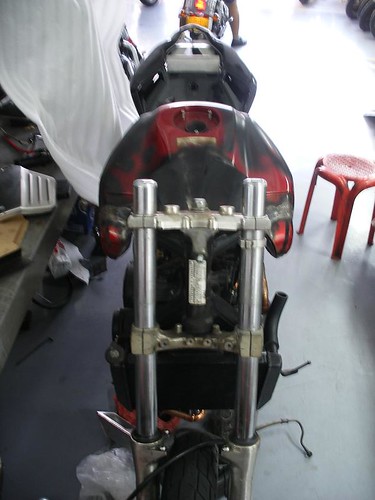
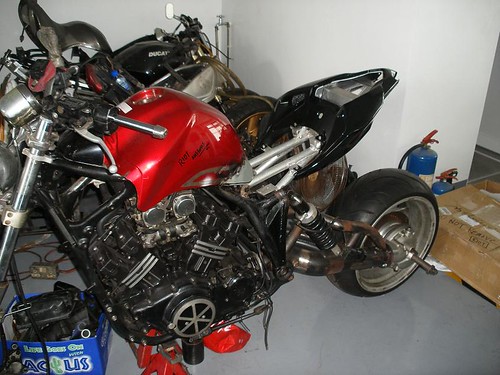
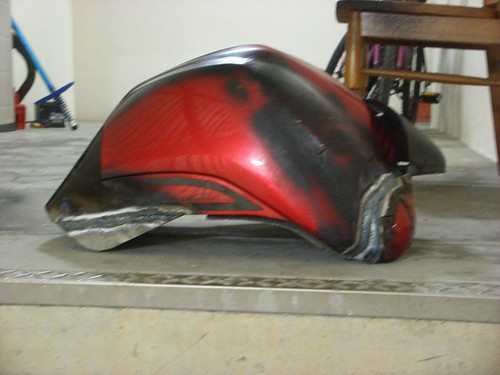
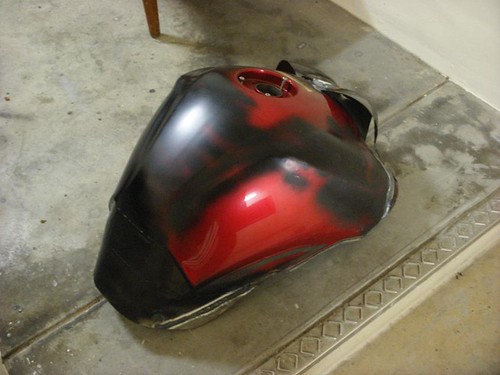
been making the subframe to fit a ducati 1098 tail as i mentioned earlier..
3749388194_bccee54206.jpg


3749388212_eecd5596f7.jpg


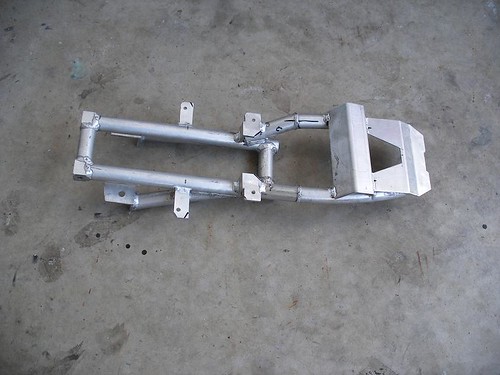
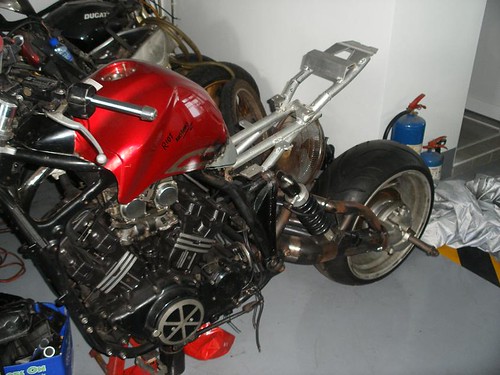
here are some pics of the tail fitted up.
3748604477_ec4a290b02.jpg


3748604485_9dfbac0472.jpg


3748613223_2b0d8235a5.jpg


gonna start on the airbox mod soon.. haha.. it should be getting interesting for some of ya...

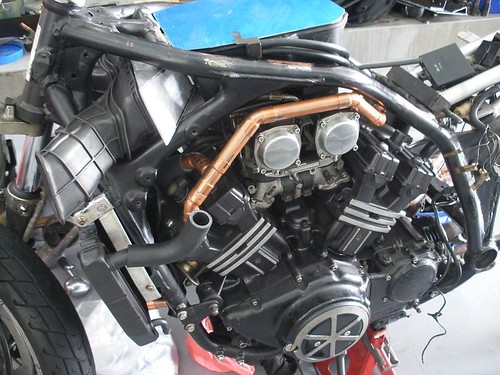
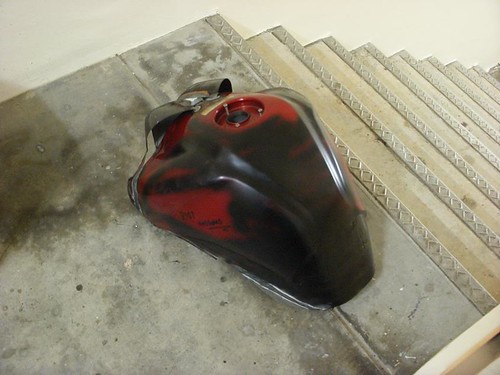
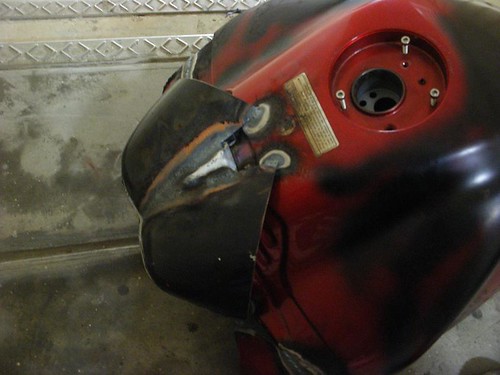
got some kawasaki ZX10 air ducts for the project and will be making some adapters to the airbox so that these air ducts can be fitted in. will be shifting my electricals to the rear under the tail and seat.. so i'm freeing up that space for these air ducts. will be sealing the airbox on top as u will see in one of the pic on the link i posted.


more details of the build in the customfighters forum. follow this link!!
http://www.customfighters.com/forums/showthread.php?t=19304&page=17

feel free to comment!! Thank you!
 
Last edited:
Make sure you put stage 7 air correctors in the carbs if you're planning on packing air into them. They'll take some tuning as well.

Still looking good! 1098 rear is good looking!

What are your plans for the front? R1 or something?
 
Make sure you put stage 7 air correctors in the carbs if you're planning on packing air into them. They'll take some tuning as well.

Still looking good! 1098 rear is good looking!

What are your plans for the front? R1 or something?


ahh.. glad u brought that up! i have been seeing this air correctors term popping up now and then when i was browsing the forums.. was thinking of only asking about it when i get to the carbs, but now, will you be kind ebough to attach a pic here to show me what are those things? lol

i got a set of hayabusa front forks lying at home.. gonna fab a set of triples to clamp it. still deciding if i wanna extend the fork or make a stepped top triple.
 
Hi, I am thinking of putting a 280 rear on my bike and i was wondering more about how you managed the offsets in the swingarm with the driveshaft connections,I read about you welding in bearings and wondered if you had any pics or drawings ,sizes you could email me that might be of help to my project as to buy a mod arm for a 280 costs a fortune as im sure you know.


email [email protected]

Many Thanks From This Side Of The Water


hi, i do not have most of the measurements as i made everything relative to the parts i obtained. i didnt weld the bearings.. what i made was a bearing holder that u can press your bearings into.

so as i mentioned everything is relative to the the other u-joint. i found a bearing to fit one end of the U-joint. with that bearing size, i got the bearing holder machined out.. the bearing holder is like a disc with its centre cratered so as to hold the bearing. This disc is welded flush with the driveshat tube... so in my case, the OD of the disc is about 3.5".. so i am able to flush it with the 3.5" tube. (swingarm portion) how thick that disc was again determined by the bearing.. you will need at least 3/4 of the bearing thickness to ensure a proper snug seating i think.

The only thing i tried to get measurements was the connecting shaft that needed to be machined to connect the 2 u-joints. This shaft length will vary with magnitude of offset.. the bigger offset u require (wider tires) , the further the arm has to stretch.. the longer the shaft. theres a limit to how much your u-joints can angle themselves. they will grind on themselves when u reach that limit. so you need to determine an angle thats most comfortable for you so that the u joints dont grind themsellves out. my measurement for the connecting shaft is 106mm discounting the drive splines from both ends.

hope this helps.
 
Sorry for all the questions,what are the two smaller newly machined components in your picture? Is the small one with a scallop machined out of it to offer up against the uj housing as the shape looks the same?

Questions Questions,I love Input

Thanks
 
those are jus the swingarm pivots that attach to the frame... u should see a clear picture if u refer to my past posts. i have pics of the completed swingarm inside
 
Lookin sweet! Just wondering... have you given any thought to just using the VMAX Cover and scoops? Looks like you have tons of room back there above the swingarm for a big ol aluminum fuel cell. Think it would give it more of an attack look. Either way your doin a bang up job!

If you need some links for fab supplies just let me know.


nah not really.. haha.. i didnt want this bike to look like a max... thats why i'm staying away from the trademark scoops and tank cover. the max has such a beautiful, stunning powerplant BUT most ppl, non riders especially, only recognise the max when those big air scoops are present .... Therefore only a person who recognizes the engine will know what it is.. hahah,.. all the more they would be able to apprecieate how much work was done to the bike to get it to look different.

as for the rear end.. its kept this way to enhance the distance between the tail and the wheel.. making it seemingly having a much much higher tail. it did cross my mind though to fab a secondary aluminum tank at the battery box area and cover it up with a sportbike undertail. gotta see the total capacity of the modded fazer tank first. but if my estimation is correct.. the finished fazer tank should hold about 10 litres.. maybe less...
 
Cool... just a thought. I have a hard time getting away from the original look.... donno why. It will be nice for sure.
 
alright.. updates!
made some fork extensions for my busa front ends... they are 5 inches shorter than the vmax's.
the way i got them made should allow me to utilise the top preload adjuster as compared to the usual practice of machining a solid aluminum piece. hopefully they work ok.
yes i did read about the potential dangers of a fork extension.. but only if they are poorly made. i took into account the fortifying of the extensions by adding a 2 inch sleeve after the threaded areas. that way, the stresses experienced by the fork would not concentrate on the threads. ( point to note if u ever intend to build one yourself and dun have prior experience)
i also might be sleeving the exterior of the fork for a beefier look.. this would strengthen the extensions as well.

3797516205_cd84ae0694.jpg


i last stopped at the tank and was having a painfully slow time deciding how to go about shaping it. i;m building the tank panel by panel to i can get some exclusivity in terms of tank design. abit of ideas or inspiration borrowed from here and there and i finally decided that this would be the final shape of my tank. As for the arches, i'm think i will cover them up halfway deep and put some wire mesh accents to make it look like an tank vents or something.. sorta matches it with the 1098 tail vents


3798332892_4588fe8519.jpg


3797516465_612194d984.jpg


3798333116_d121fc3421.jpg


3797516785_8ab4c9a2a6.jpg
 
Last edited:
alright.. updates!
made some fork extensions for my busa front ends... they are 5 inches shorter than the vmax's.
the way i got them made should allow me to utilise the top preload adjuster as compared to the usual practice of machining a solid aluminum piece. hopefully they work ok.
yes i did read about the potential dangers of a fork extension.. but only if they are poorly made. i took into account the fortifying of the extensions by adding a 2 inch sleeve after the threaded areas. that way, the stresses experienced by the fork would not concentrate on the threads. ( point to note if u ever intend to build one yourself and dun have prior experience)
i also might be sleeving the exterior of the fork for a beefier look.. this would strengthen the extensions as well.
I've done fork extension once, cant remember details about the project but def USD forks for some kind of custom chooper.

Made it with some difrent way but very similar.

Absolutly no problem with that mod but like you've mentioned if its not poorly made. No need to machine that sleeves when thread is match properly, bealive me.

Anyway, nice work. Keep it up ;)
 
i did work to the radiator!! i wanted a radiator unit with a inbuilt refil cap as the original vmax had a remote cap location. it interfered with my design and had to go. i managed to get an R6 radiator and routed the piping usiing copper pipes. they will be welded tight and given some proper finishing when funds come in.. and here u go.. pics

R6 radiator
3886343135_0c135e68e7.jpg


piping from rad to water pump
3887141540_468e146b83.jpg


another view
3886343493_f0b662186e.jpg


aluminum bracket fabricated to hold the R6 rad. again, will be finished with the proper coatings. lol
3887141236_7056ebcfb9.jpg


pipe routing from engine back to rad
3887141098_175a136dee.jpg


something extra! a shot of the tank on the bike
3887141800_d837a35fee.jpg


the old and the altered vmax in progress. haha jus too bad the wheel aint there now.. doing some alterations the the swinger.
3886343757_3f60c3d38a.jpg
 
The venture radiator is quite the same as v-max and they run very cheapo on ebay. And it have bulit in refil cap in the same place as you have.

Im just wonder to myself that can i use venture radiator since v-max radiator are rare and im curently lokking for good used one.

If you can re upload you previous picture as they not working anymore.
 
:ummm:Yes a Fire Fighter could do this, an Engineer would never get it done thats for sure. I can't see the pictures, what's up with that? Good Luck, Spur
 
:ummm:Yes a Fire Fighter could do this, an Engineer would never get it done thats for sure. I can't see the pictures, what's up with that? Good Luck, Spur


yeah i changed some settings on my flickr album and everything dissappeared :bang head:.. will try to repost the pics.
 
Hey now! Your bike is starting to come together real nice. Looks like your not that far off to taking it for a spin around the block. Great Work!
 
i took some side view photos with the tail and wheel fixed up so u guys can see the angle and stance of the bike.

3905851053_6627b3901c.jpg


theres a bike right in front of me when i took this pic so i cant really get the entire bike into the frame. but here u can see the side shot of the tail angle... will be adding a hump to it as it progresses

3906631264_168b9af8bd.jpg


3905851409_43a491334b.jpg


3906631162_43a8d88332.jpg


3906630972_15c2d3b41f.jpg


3906630908_e222e29470.jpg
 
Back
Top