paint/light bodywork....tips for a newbie?

VMAX  Forum

Help Support VMAX Forum:

This site may earn a commission from merchant affiliate links, including eBay, Amazon, and others.
Well, things were going well. Got the last of the prep work done, the bondo repair work turned out decent (not perfect, but definitely a lot less noticeable than before), and primered all the parts.

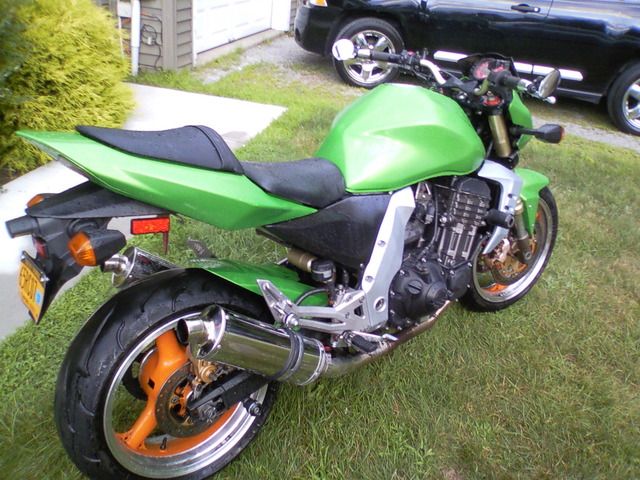
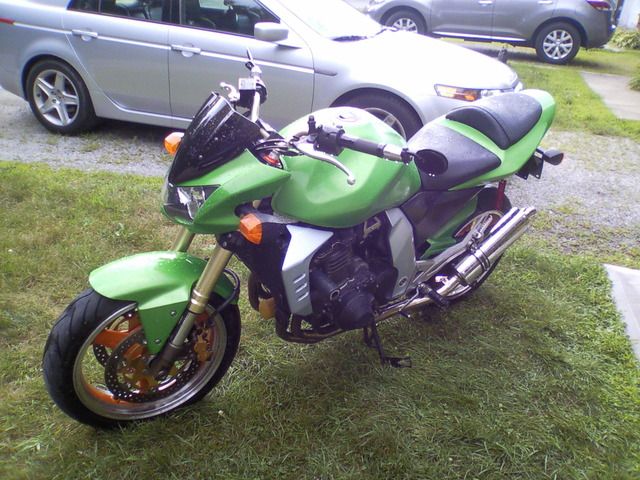
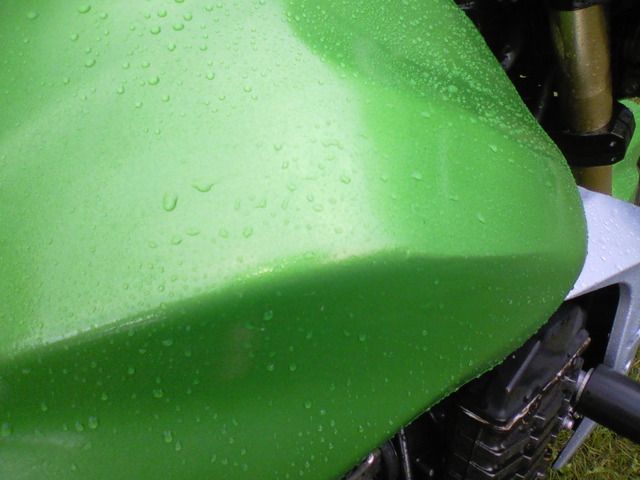
Mixed up some of the color, in the Preval, and started spraying away. It's certainly a bright color. The preval sprayer works OK, has kind of a low output so you have to hold it pretty close to the part as opposed to a spray can. But works well enough.

Since I'm working in a 3/4 car( as in a pickup would not fit even if it was empty...compacts only) garage, that holds my bike, the minibike, several shelves of assorted junk, I'd been hanging parts with cut up coat hangers off the lip of the open garage door. Nowhere else to hang them to dry.

Well, that worked just dandy until I hung the gas tank on it. 3 parts were already there and had been sprayed. I drained the tank, as much as I could, but it still had a little heft. Hung it on the lip, it held just long enough for me to get to the back of the garage, then down the door went, crashing all the wet parts into the gravel driveway and then smashing down on top of them GODDAMMIT! apparently the tank weighed more than needed to pull the door shut. It's not an automatic one so it doesn't lock up or down. Plain spring loaded.

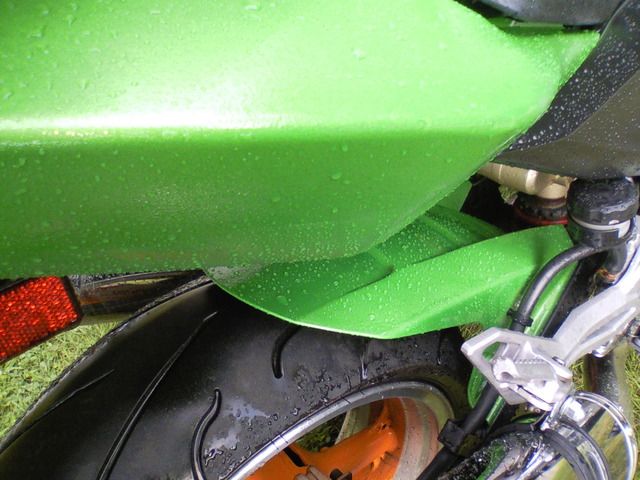
So the tank, headlight fairing, and rear seat cowl went in the dirt and of course came back covered in little stones and dirt since they were still tacky.

So I guess wait until it dries, then wet-sand the damaged areas and respray? Otherwise the finish was coming out great, no runs, drips, or other blemishes with a nice even metallic coat.
 
Damn that does suck Ryan! Sorry to hear about your set back but it sounds like they were turning out nice and you were happy with the color.
Mike
 
Actually it ended up not being that big of a problem. Waited overnight for it to dry(with all stones and dirt still in it), then the next day sanded down the damaged areas with 180 grit. Cleaned and resprayed and it's impossible to tell where the damage was.

Gave all the parts another coat(was a bit thin in a couple spots)

Dried last night, and put the fenders, tail, and headlight back on today. Looks nice(though the orange wheels don't do anything for it). The bondo fill-in on the tank dent isn't perfect but it can really only be noticed if you look at a sharp angle, you can see the edge of the repair. The tail rash fill-in is similar. Not perfect, but unless you were looking for something you wouldn't notice.

Got a little bit of "fisheyes" at one part of the tank, though they're really shallow...again can feel more than see them... and I'm hoping compound will take them out. otherwise not a disaster.

Gonna give it another day to harden up, said 90 days to "fully cure" but fine to compound after a couple days.

It's quite shiny and glossy, you'd think it has a clear on it.

I got some custom decals from eDecals.com for the tank that will be here in the next day or two as well. Black tribal lettering with a metallic silver outline.
 
Before....if you look carefully you can see the big rash on the tail, and the dent/paint chip on the tank

0615121554.jpg


Here's the almost final product. I got the graphics in from edecals for the tank, and the wheels are going to be black, otherwise the paint is done and compounded. The photos make the color look a bit paler than it actually is, and it was also an overcast day today whereas "before" was in bright sun. Just gave it a bath to get the dust off it from sitting in the garage for almost 2 weeks while I was sanding bondo.

0729121921a.jpg


0729121921.jpg


And here are the two major damaged areas that I repaired on the tail and tank...in person you can see a bit of an edge on the tank but you'd really have to be looking for it.

0729121921b.jpg


0729121922.jpg


Overall I'm happy with it. It's not going to fool anyone into thinking its a pro job (or if a pro did this you should get your money back), but from about 10ft away it's nice. It's pretty glossy and has a nice sparkle in the sun, though it's not "factory smooth" by any means.

I also saved a ton of money over having a pro do it (the lowest of the quotes I got was $400, not including materials, not including the body repairs, not including the trim pieces I rattle canned, and I remove/reinstall the parts).

The grand total for this was right around $120.

1 pint Nason Ful-Cryl acrylic enamel- $30
1/2 pint Nason ful-cat catalyst- $30
2 cans Transtar 2-n-1 primer- $25
1 can gloss black (side covers)- $5
1 can duplicolor silver metallic(rad shrouds and frame covers)- $10
1 Bondo "repair kit" (small tub of bondo, tube of glazing putty, spreader tool, and various grades of sandpaper)- $15
Various sandpaper and a foam block, another few bucks.

I have about 1/4 of the pint can left. 6oz of mixed paint, what the Preval sprayer held, was enough to do a moderate coat on all the parts, which I did twice.

I'm still considering doing a clearcoat with the Spraymax, though they said not to clear this paint for at least 90 days. The infosheet for the paint just says "tack free" in 45 minutes and "hard" overnight and nothing about cure time.

Anyone have suggestions for something that will safely take this paint off though? Most stuff I covered while I was spraying so it wouldnt get specks all over it, but of all things I forgot the seat that was on the ground in the corner, and it's got a pretty ugly green specking on one side of it. Maybe I'll send it to Sean this winter for a rework.... I also forgot the bar end mirrors, which have a faint speckling. Purple power and regular paint thinner didn't seem to even touch this stuff.

I did the piece that replaces the passenger seat with a cowling as well, though for whatever reason the paint on that came out terrible. Runs everywhere, the metallic specs were all pooled and blotchy. Gonna end up totally sanding that down and using the little paint left to totally do it again. Not sure why, since it was done at the same time and conditions as all the other parts.
 
when i did the spraymax it 'felt' factory once it dried. just a bit of buffing and running your hand door to door you can't tell. u know how that factory finish just feels so glossy, thats what it felt like.

hope that helps. might make the metallic pop a bit more too?

if nothing else it'll help protect it. I can't imagine it would effect the paint after a week. i probably would have cleared after 24 hours (without knowing much about the green paint), but i mean paint should be cured by 7 days yea?
 
Very Nice Ryan! I generally don't like Green but Love the Green you used.....
 
Thanks. I think I will order a can of spraymax. The color is good, but it doesn't quite have that "depth" of a factory glossy metallic.

Plus as you said a clear will protect and seal the tank emblems...I'll grab a pic of them in a bit.

Here's the tank decal..

0730122019.jpg


Got a can of the spraymax 2k "glamour" gloss clear on the way. At $30 a can it better be good stuff.

not sure if thats the same stuff as the cut-in? i paid $22 i think at the local place in utica so its not cheap.
 
Nah I guess it wasn't....there's a "glamour gloss"(what I got) and a "rapid cut in". I looked at both (after the fact) and it seems the only advertised difference is drying time...the regular is 12 hours while the rapid cut is like 20 minutes. The regular is also "good" for 48 hours once activated but the rapid was much less.

Either way, this stuff made my mediocre paint job look 110% better. The orange peel and thin, slightly "rough" spots were all filled in and given a uniform glossy finish. It also gave much more "depth" to the color and metallic effect. It covered over the tank graphic with no issues, a buddy said that clearing over decals sometimes makes the vinyl shrink and the finish hardens, but there was none of that here.

I was really amazed at how much improvement this caused. It went from an "okay" paint job to something I'm really pretty proud of.

Plus, the Spraymax seems nigh idiot-proof to spray. I followed the directions on the website starting with a light coat, letting it flash, then a wet coat. I didn't get a single run, bubble, fisheye, drip, sag, nothing. Flawless spray from an admittedly total newbie to this.

So a big thumbs up for the Spraymax 2K...

good to know that both would work.

new pics?

glad it worked out, worth the $20 eh?

next time would u get just some aerosol paint cans and finish it with spraymax? would probably be cheaper eh?
 
Yeah, in retrospect I probably would have gone with one of the Duplicolor metallic rattlecans for color and then used the spraymax. The trim pieces and frame covers came out great with the duplicator silver metallic.

This ended up coming out pretty good, and in the hands of a pro painter probably could have come out factory quality, but for the average Joe, rattlecans and spraymax are realistically cheaper, easier, and more forgiving of mistakes.

Or, dont buy a bike with a ruined factory finish.
 
Back
Top