What did you do to your Vmax today? Part 2

VMAX  Forum

Help Support VMAX Forum:

This site may earn a commission from merchant affiliate links, including eBay, Amazon, and others.
Powder coating...everything I can...
 

Attachments

  • photo1.jpg
    photo1.jpg
    59 KB · Views: 32
  • photo2.jpg
    photo2.jpg
    49.9 KB · Views: 31
  • photo3.jpg
    photo3.jpg
    46.6 KB · Views: 32
Synched the Carbs and Adjusted A/F Screw out a bit to improve my Idle with the Open Cap SuperTrapps on it (vs Previous Closed Caps).
Took about a 20 Mile Test Ride before the Rain could set in, Mr Max is running Strong.
 
Hey thanks for the tips, I put it on with the tabs up, the oring was somewhat difficult. I ended up rotating it around so the well fitting part was at the top then tightened it up keeping the bottom in place with my metal pocket scale until it got close enough to touch. Got it all buttoned up no leaks and running great!

I have my SS Galfer brake/clutch lines on order from Sean. I'm debating whether I should rebuild the master cylinders or not?? Or at least replace the glass windows and the covers. Has anyone rebuilt the master cylinders? If so was it a difficult job?
 
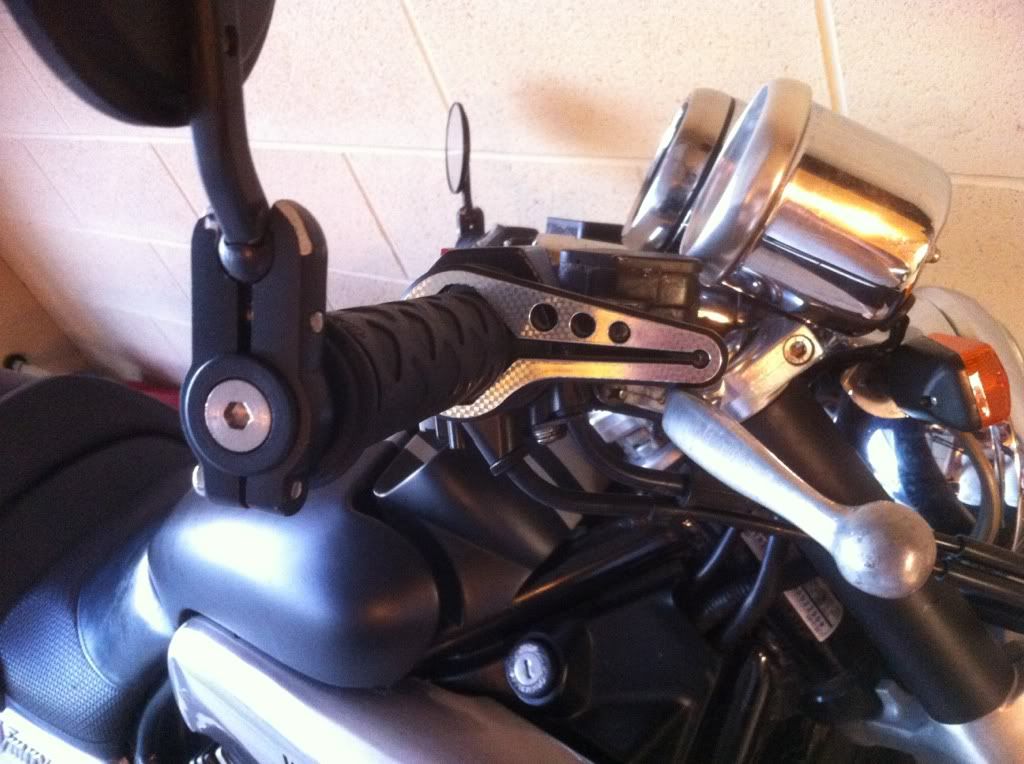
I'm debating whether I should rebuild the master cylinders or not?? Has anyone rebuilt the master cylinders? If so was it a difficult job?

Might as well. The manual says do it every four years which seems excessive. I've just done both clutch and rear brake cylinders(front next) and it was fairly easy even for a NOOB WRENCHER like myself and despite Haynes book giving it a 4/5 wrenches(difficult)...
 
Today I bought 4 new sparkplugs and also kabel. I orded caps and they will arive later.
Changing the plugs is piece of cake aswell the two cables of the back cylinders. But the two front cylinders is a different story!! First you need to breack your hand in a few places before you can reach. But it's fixed and running well.

Came to do this because the cable was leaking as engine was running and could feel the sparks

Now waiting for the plugcaps to arive......
 
installed fork brace, polished foot pegs, applied tuning fork decals to water pump and middle gear covers, pushed a strip of chrome trim on to front fender, and MY FAVORITE THING that I did: polished the shift lever that has been a thorn in my side ever since I bought Maxxy Boy. Here are a couple pics of the shift lever. I blogged a pic of it installed on the bike along with pics of my other mini-projects here: http://www.vmaxforum.net/blog.php?b=111

picture.php
picture.php

Any good videos on here (or you tube) on polishing techniques and what equipment is recommended?
 
Any good videos on here (or you tube) on polishing techniques and what equipment is recommended?

I've done some polishing. 90% of the work is in the sanding. Start out by removing the clearcoat with a paint remover. I like Tal-Strip II aerosol. Kicks Ass!. Then, start with the finest grit sandpaper you can that will get rid of the casting marks. 220 is a good place to start but often you need something more coarse. Once you get nice, even marks in one direction, sand in the other direction. Then, work to progressively finer sandpaper in the same manner. It is VERY important to remove all sanding scratches from the previous step. Once you get up above 600 grit paper some guys will start polishing. Some guys go all the way up to 1500 grit. I was fine with 600. Then, use a spiral sewn wheel with a cutting compound, then a new wheel with a polishing compound.

Takes a lot of time and effort. Its a lot easier if you have the proper tools but doing the way mentioned above yields good results. If you want in depth info check out the Caswell website. They have a forum dedicated to all types of metal finishing and sell a ton of different products.

I did the inserts on my R1 caliper recently. Turned out pretty decent.
 

Attachments

  • 2012-03-16_20-10-56_31.jpg
    2012-03-16_20-10-56_31.jpg
    49.1 KB · Views: 35
Rode mine to Yakima saturday (~170 miles) to visit my folks. First long ride with forward controls; different, but I like it. On the way home, I made Selah to Ellensburg in about 20 minutes at triple digits the whole way.

While being smug afterwards about the time I was making, the fuel light came on at under 80 miles; going uphill into headwinds at 110+ does have its price....
 
Any good videos on here (or you tube) on polishing techniques and what equipment is recommended?

dude really easy once you get going. just like mab laid out. after a couple of projects, i've realized that some steps from a previous project were fruitless and i abandoned them (e.g. which grit to go to next). you might benefit with a handheld rotary tool for hard to reach crevices.


1) aircraft stripper (i use Tal-Strip) to remove clearcoat or paint. follow directions

2)
a) my first project (venture valve covers), I started out with 100-grit sandpaper and sanded out pitting and casting marks.
b) my second and third projects (virago grab bar, and shift lever), I started out with 80-grit.
c) In all cases I sanded in only one direction

3)
a) my first project, I followed up with 250-grit in the perpendicular direction and removed the scratches from the previous grit. next 500-grit in the perpendicular direction to remove scratches from the previous grit. finally 1000 wet sanding.
b) my second project, I followed up with 300 and then 1500
c) my third project went only to 120 (i didn't have any other grit and was too lazy to go to the store). if you look close enough, you can see that i also ran out of 120 before completing the session (there are some very shallow 80-grit scratches left).


The basic idea is to start off coarse and work your way up to how ever fine of a grit you desire. The finer you go, the more mirror-like the final results will be. Note the finer you go, not only do you add time to the project simply because of the step, but you also add time because it takes longer for a finer grit to remove the scratches from the previous grit.


4) After hand sanding, I went onto a 6-inch benchtop polisher using regular "cloth" buffing wheels. first using black jeweler's rouge, followed with red, and finally white. cleaning the rouge off of the piece and switching out a different wheel when transitioning to each color. you don't want to cross-contaminate the cutting compounds, thinking that you're on, white for example, when in fact you are on a black/red/white mix, which is essentially just black. when on the polisher, note that HEAT is your friend. you want "melted" compound polishing up your piece.

5) After polishing wheel, I used some regular metal polish cream and worked it until no more black oxidation

DONE


The shift lever took me I think two hours. Or was it three? Whatever. For what may seem to be a tedious task for some is a labor of love for me. I never know how long I'm out in the garage working on the bike.
 
I smoothed out the casting maks on my shifter but my methods may have been a bit crude to start the process. I used a file to knock down all the high points of the casting flaws, then proceded with the increasingly higher grit at opposing sanding angles. I didn't do it for the polished look, I wanted to paint it black. It turned out nice and smooth altthough the paint only lasted 1 season, I should have just had it PC'd.
 
I tighten the head bearing by 3/4 of a turn before I lost the 'bounce' they where needing tightening, And I help my friends father bolt a side car to his daughter's goldwing 4 bolts what a pain to line the last one up.
 
Started to install Morley's muscle kit (did the shotgun as well since the carbs were off). Got 3 1/2 carbs done. All I have left is to change the springs and needles on one carb but two of the screws are stuck on the carb cover. I tried everything I can think of to get those suckers out but no luck. I'll have to cut a slit in each bolt and use my brother's manual impact, that should do the trick. I'll be replacing all of the phillips bolts with either allen or torx. I'd prefer torx but if I can't find any locally allen it will be.

What a PITA those stock bolts can be.
 
I tighten the head bearing by 3/4 of a turn before I lost the 'bounce' they where needing tightening, And I help my friends father bolt a side car to his daughter's goldwing 4 bolts what a pain to line the last one up.
You're not already home are you Paul?:surprise::surprise:
 
Yes I am I got back in at midnight, fun run, enough miles to be a 'test' ride for my ride Thunder run, which I will not do at the pace I was doing to get to Flint yesterday. I rode hard and cleared a lot of miles with out many breaks
 
Got my freshly anodized kerker muffler and custom name plate installed today. Pictures really don't do it justice. When this bike finally comes together it is going to be absolutely gorgeous.. in a red and black kind of way

Sent from my Desire HD using Tapatalk 2
 

Attachments

  • uploadfromtaptalk1338506668131.jpg
    uploadfromtaptalk1338506668131.jpg
    81.2 KB · Views: 22
  • uploadfromtaptalk1338506698118.jpg
    uploadfromtaptalk1338506698118.jpg
    21.6 KB · Views: 23
  • uploadfromtaptalk1338506728321.jpg
    uploadfromtaptalk1338506728321.jpg
    21.3 KB · Views: 22
Any carb cover screws I have had stuck, I just use straight-jaw Vise Grips. I have been doing this since I cracked a carb body on another Yamaha 4 trying to remove a screw from a float bowl or a CV cap. It was awhile ago, but I recall that sickening "crack" it made when I used a 3/8" impact driver on the screw, and the carb body looked like the Liberty Bell.

I have also used the slot-the-fastener w/the Dremel method on any # of fasteners. I never will use an impact driver again on a carb body. Try some heat & PB Blaster too. Be careful not to melt the potmetal!

Started to install Morley's muscle kit (did the shotgun as well since the carbs were off). Got 3 1/2 carbs done. All I have left is to change the springs and needles on one carb but two of the screws are stuck on the carb cover. I tried everything I can think of to get those suckers out but no luck. I'll have to cut a slit in each bolt and use my brother's manual impact, that should do the trick. I'll be replacing all of the phillips bolts with either allen or torx. I'd prefer torx but if I can't find any locally allen it will be.

What a PITA those stock bolts can be.
 
Just installed some LED license plate lights. At least now I am legal!
 

Attachments

  • photo-14.JPG
    photo-14.JPG
    96.2 KB · Views: 28
Back
Top