88vmx12
Well-Known Member
Sorry no advice due to my jelousy!
G
G


")
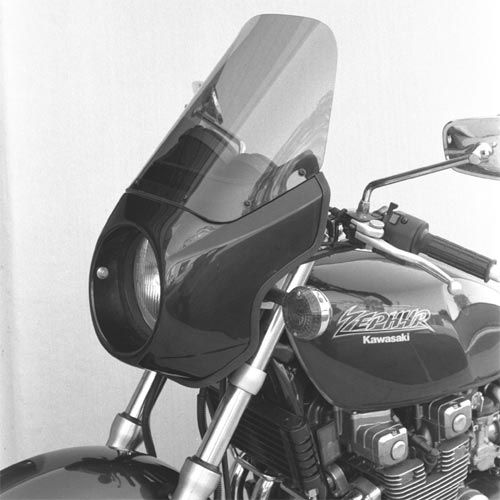
I would like to se detailed pics of the fairing, and how exactly it mounts. I like the looks of it, and would consider getting one. (would want the windshield lower though.)
Don't believe Tracy is still in business. At least no Vmax shields anymore. Rifle is the closest to this and they make 3 different shields/fairings for the Max. I have owned two of their Superbike fairings, one on a 1985 Suzuki 1150E and one on my Max. It was ruined in my crash and never replaced. The Superbike fairing is the middle one. There is a real large one with built-in turnsignals and fairing pockets and places for a radio or instruments. Great for touring. The smaller one is larger than the OEM small shield but still fairly small. Good products if you like the styling.

Enter your email address to join:


