Steering Head Bearings and Races Replaced: How-To With Pictures!

VMAX  Forum

Help Support VMAX Forum:

This site may earn a commission from merchant affiliate links, including eBay, Amazon, and others.

Lotsokids

Well-Known Member
Joined
Jul 17, 2009
Messages
565
Reaction score
12
Location
Memphis, TN
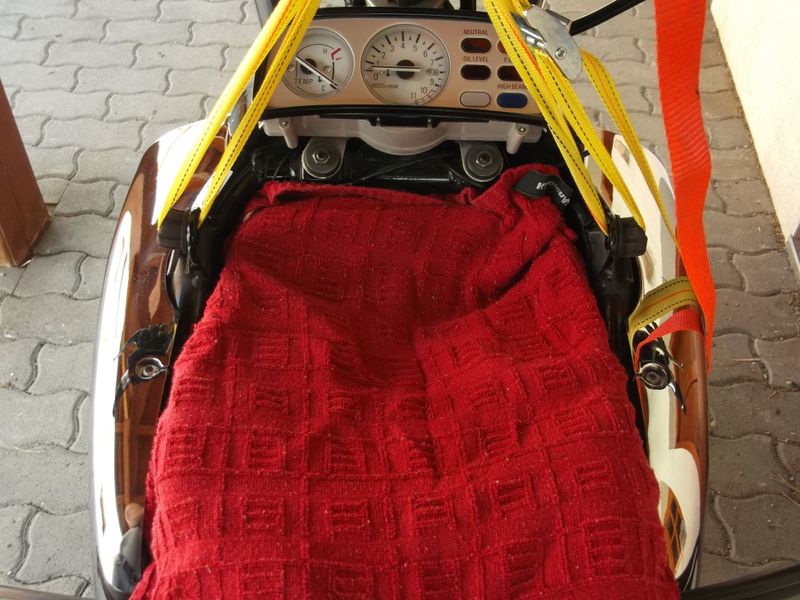
1. Cover that intake. It's easy to drop hardware into the carbs with the cover off.


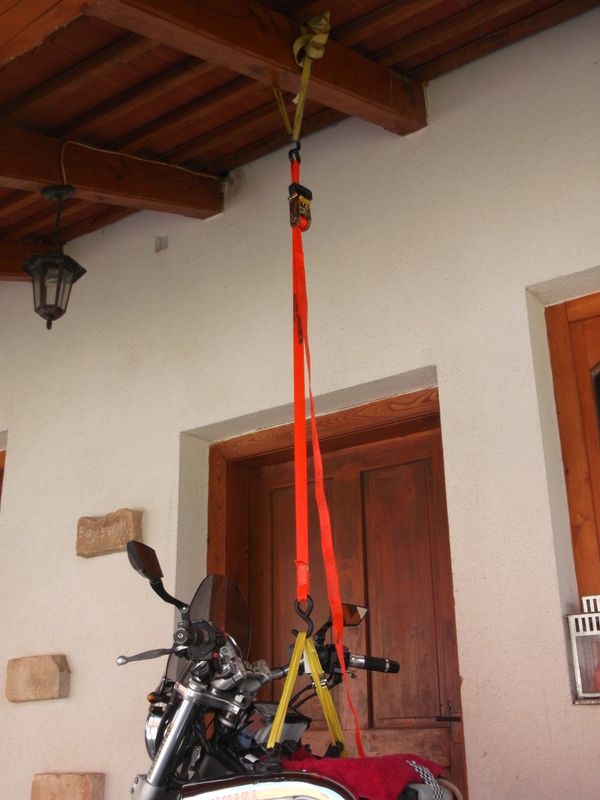
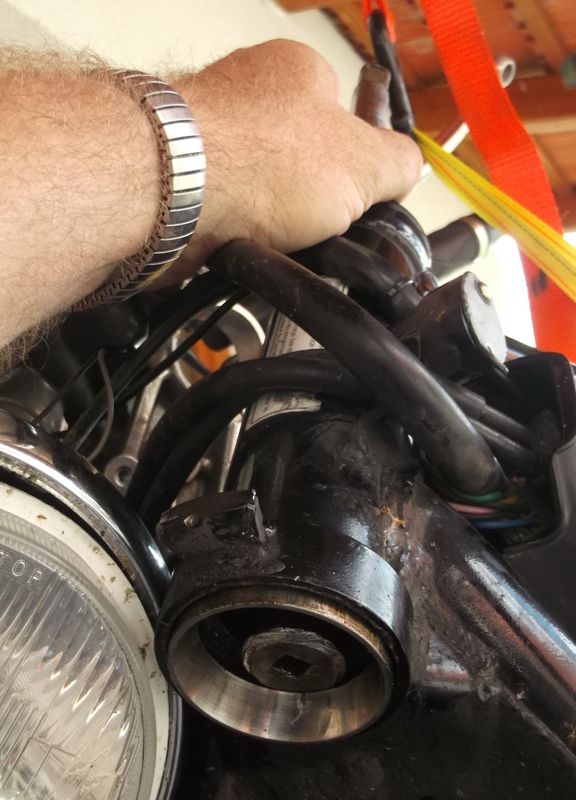
2. Hoist that beast up by the frame.


3. Remove the upper retaining nut


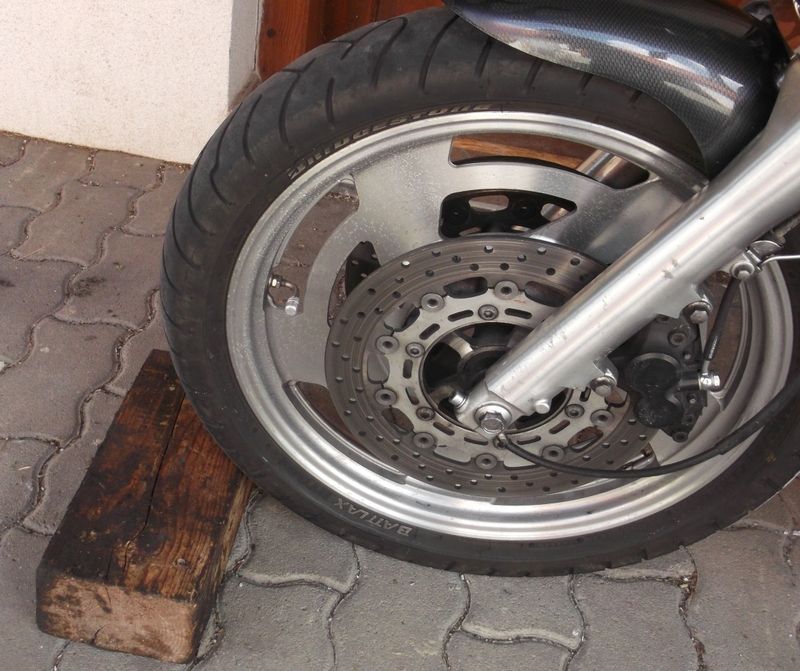
4. Chock the front wheel so it doesn't get away from you when you remove the adjusting nuts. Now is a good time to remove the front calipers and speedometer cable at the wheel.


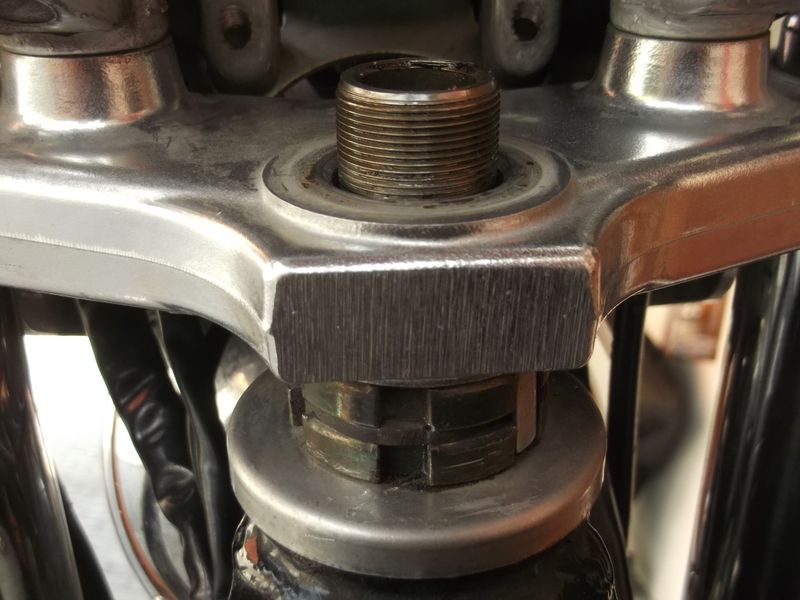
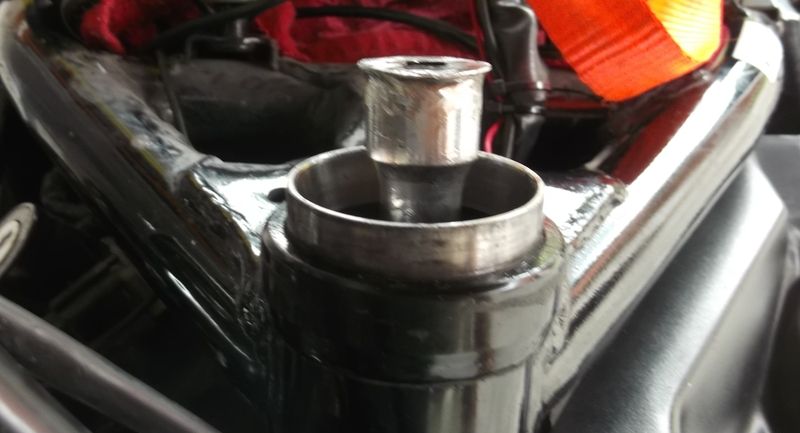
5. Remove the upper brace (this pic is actually the installation - notice the new race).


6. Remove the adjustment nuts and carefully slide the shaft out. I did this by ratcheting my support strap, hoisting the frame up and off the steering shaft with the front wheel chock in plcae. Go slow! Watch the wires and cables!


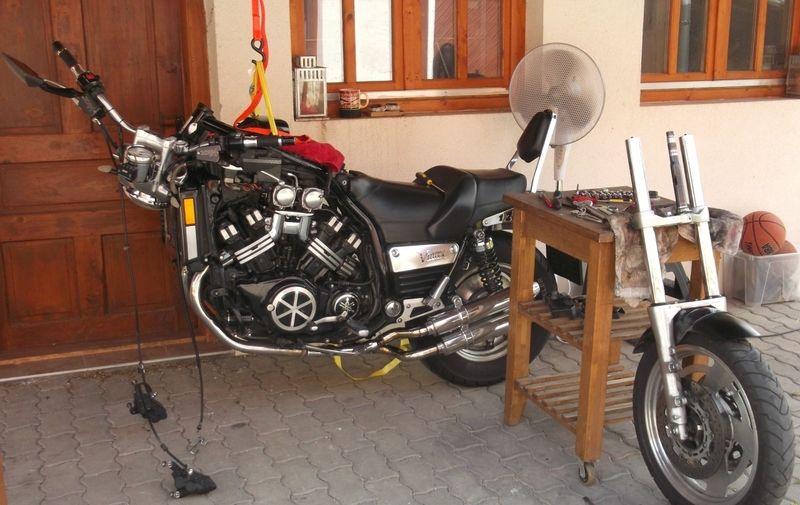
7. Now you have a "headless" V-Max. :biglaugh:


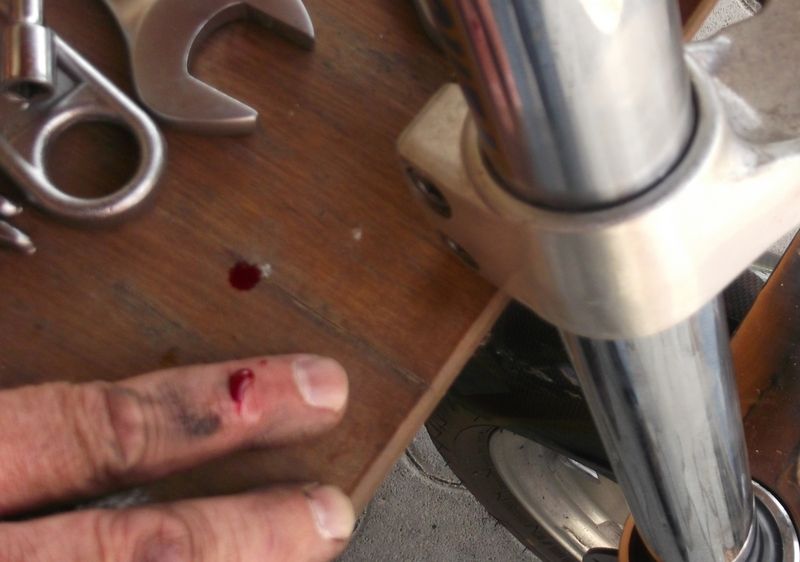
8. Of course, it's not real maintenance without blood. :confused2:


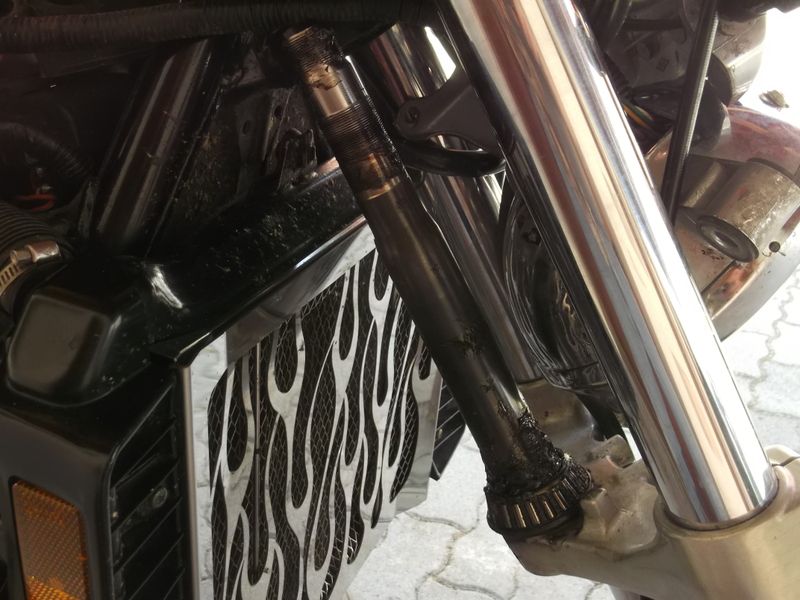
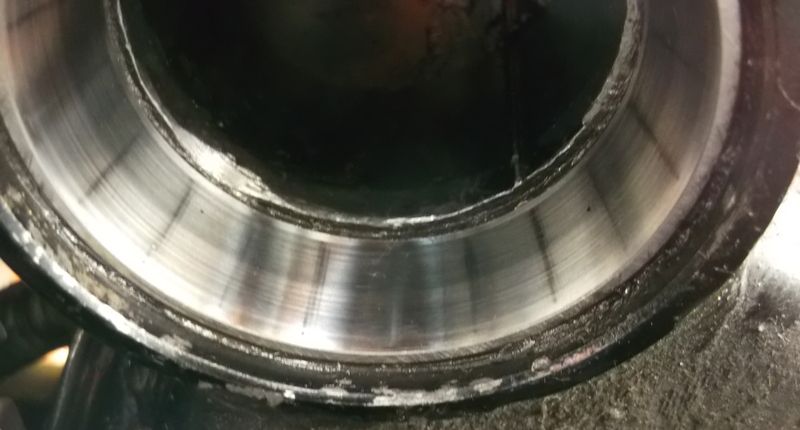
9. The old lower race. Notice the scars.


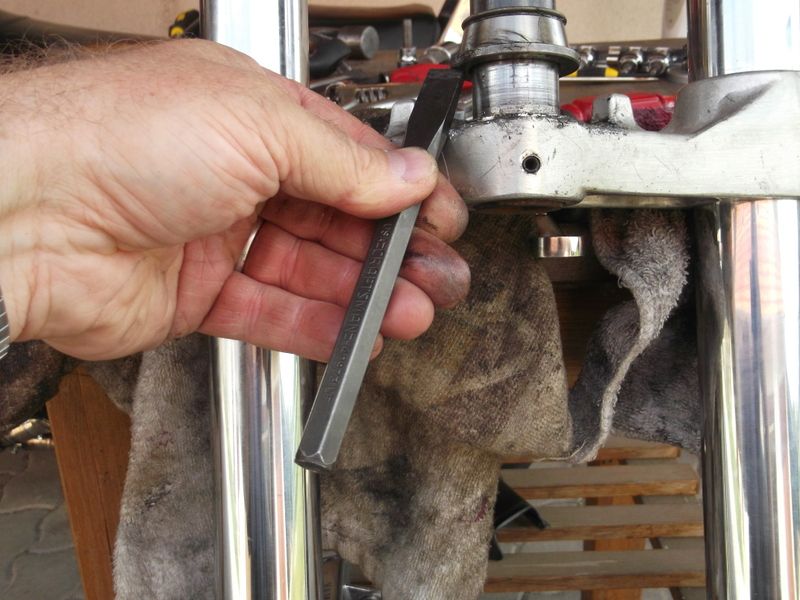
10. The only thing I had to remove the bearing races was an old 1/2-drive extension that I've used as a punch for about 30 years.
Notice the end is flared. I used a grinder to form it a little better. That's the only thing that could catch the inner lip to drive the race out.


11. Removing the old lower bearing.


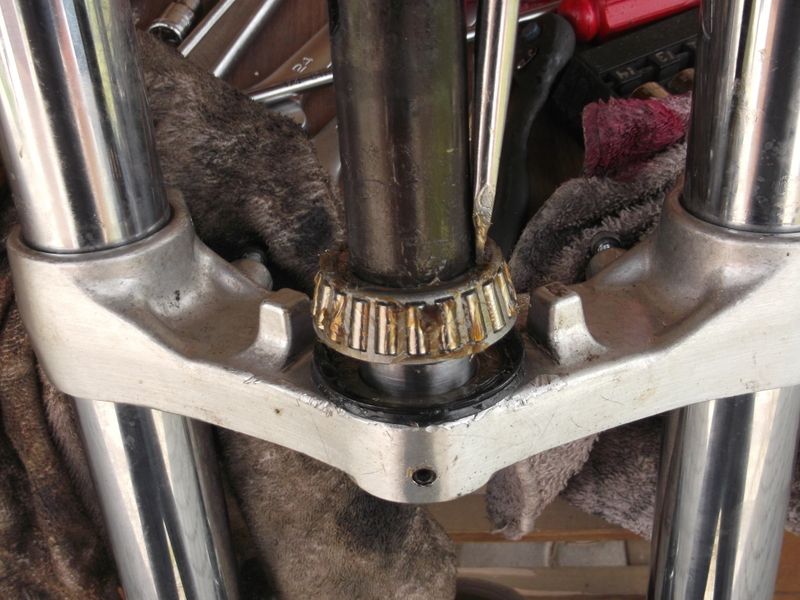
12. Installing the new lower bearing. Be careful to only drive it on at the inner part of the bearing. Some use a pipe or other things, but this is all I had.
Make sure you pack the new bearings well with with grease.


13. Install everything back together, and properly torque the head or use Sean Morley's "bounce" method, which I used.


Note: If you hoist the frame like I did with a similar ratcheting strap, when lowering - get a couple people to help support the bike. Then jack the bottom of the bike up with a hydraulic jack. With the bike supported by your helpers, release the strap ratchet, then lower the bike down to the ground with the hydraulic jack. It's tricky, but works. I actually did this alone, but that's very risky.
 
Last edited:
Did you replace the outer race of the 'upper bearing'? Looks good for what's shown. Jedi showed in another recent post that by putting a bead of stick weld onto the outer race, they will heat up and come out.
 
Did you replace the outer race of the 'upper bearing'? Looks good for what's shown. Jedi showed in another recent post that by putting a bead of stick weld onto the outer race, they will heat up and come out.

Yes, the outer race at the upper bearing was replaced, actually shown in the last photo.

I thought about heating the race up, but I don't have a welder or torch. Plus living in Hungary, I'm extremely limited, so this process I posted shows the bare minimum to get the job done.
 
Did you replace the outer race of the 'upper bearing'? Looks good for what's shown. Jedi showed in another recent post that by putting a bead of stick weld onto the outer race, they will heat up and come out.

+1. The bead gives you something to bang on. If the race doesn't just fall out on it's own as it cools.
The wear marks on the race are right where the grooves wear to cause play in the bearing assembly's. I just did an inspection and packing. It's good peace of mind if you like to go fast safely. Putting the new race in the freezer overnight will help you out. It shrinks it a bit. Don't get caught.
 
And how does it ride. Feel any different, shake/ wobble all gone?
 
And how does it ride. Feel any different, shake/ wobble all gone?

No test ride yet. It started raining just after I finished it. Then gone all day today.
It's big on my radar! Tuesday looks clear and dry. I will certainly post an update.
 
What did you use to put the races back in with?

Sent from my SM-G920P using Tapatalk
 
What did you use to put the races back in with?

Sent from my SM-G920P using Tapatalk
Not sure what he did but I used the old races as a driver. I cut a slot in the old race, put it on top of the new, and tapped with a hammer.

Sent from my SM-G900V using Tapatalk
 
Not sure what he did but I used the old races as a driver. I cut a slot in the old race, put it on top of the new, and tapped with a hammer.

Sent from my SM-G900V using Tapatalk
Good idea. I just orderes a set of bearings and races so ill be doing mine soon.

Sent from my SM-G920P using Tapatalk
 
I didn't hoist my whole bike up with straps. By having a Hindle pipe, my centre stand mounts are intact. I raised the front end and placed jack stands under each engine guard, left and right. When the crown nut etc were removed, I simply strung it all up and forward on a 6' ladder. I didn't require any helping hands when lowering it down.
 

Attachments

  • IMG_0500.jpg
    IMG_0500.jpg
    66.9 KB · Views: 50
I just ordered a set of All Balls bearings, Gonna use my Craftsman bike jack to lift the machine. This will be a good time to get the front tire replaced too. And maybe a set of fork seals, as long as everything's apart... Oh yeah, the new HH brake pads, too..
 
I have access to some carbide cutting bits, small enough to get at the races in the headstock. I'm thinking that slicing them ought to make it a bit easier to get them out?

These have been in the bike since new. I'm thinking it may well be a horror show to get the races out. Sometimes using PB Blaster like Holy Water on things like this helps. When the day comes, I'll be sure to report my experiences.

Top one comes out with a drift no problem.

Lower cant be accessed with a drift. You need to either
1. weld a bead on it and it comes right out
2. grind the race nearly through, whack it with a cold chisel to crack it the rest of the way and it'll come right out (or grind all the way and try not to scar the seat in the neck)
3. grind a bit off the lip in the frame that hides the race. Not much grinding needed. Just enough to get a bite on the top of the race with a drift. Once you move it a bit, you can work around the sides without additional grinding.
 
I did the Venture but still have to do the max. I've heard its the same PITA. I had to shape it with a Dremel a couple times so it would bite the almost non-existent lip of the lower race. I didnt realize the Vmax was inaccessable with a drift, even on the Venture there was almost nothing there. I like the bead idea, thanks for that. The Vmax is getting a new All Balls set this spring with the new Dunlops. I have the Kerker so when I rebuilt the forks I supported the weight with jack stands on the highway pegs since no center stand.
 
Top one comes out with a drift no problem.

Lower cant be accessed with a drift. You need to either
1. weld a bead on it and it comes right out
2. grind the race nearly through, whack it with a cold chisel to crack it the rest of the way and it'll come right out (or grind all the way and try not to scar the seat in the neck)
3. grind a bit off the lip in the frame that hides the race. Not much grinding needed. Just enough to get a bite on the top of the race with a drift. Once you move it a bit, you can work around the sides without additional grinding.

I used #2 using a dremel with diamond cutting wheels and it worked great. If you grind a bit into the neck no worries....it's fine.
 
I'm going to replace my bearings/ races due to my steering feeling a little notchy but for the life of me I cannot find the part number to the races. :confused2:
I'm looking at this diagram.


The races come with the bearings. You need parts 1 and 2 from the fiche.

Mark


Sent from my iPhone using Tapatalk
 
Back
Top