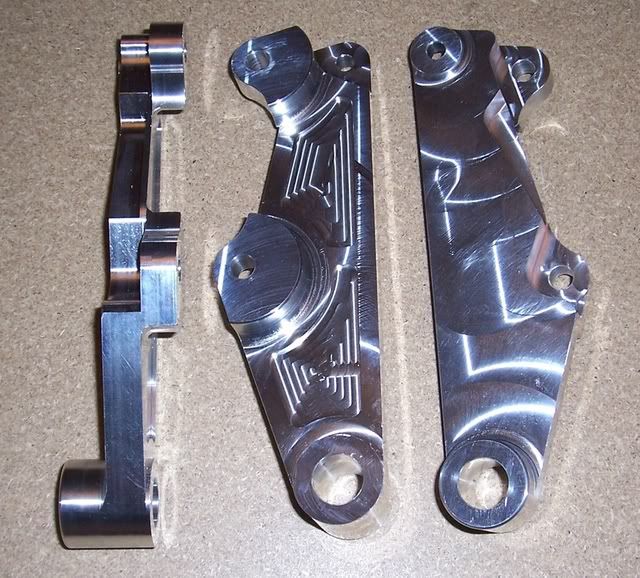
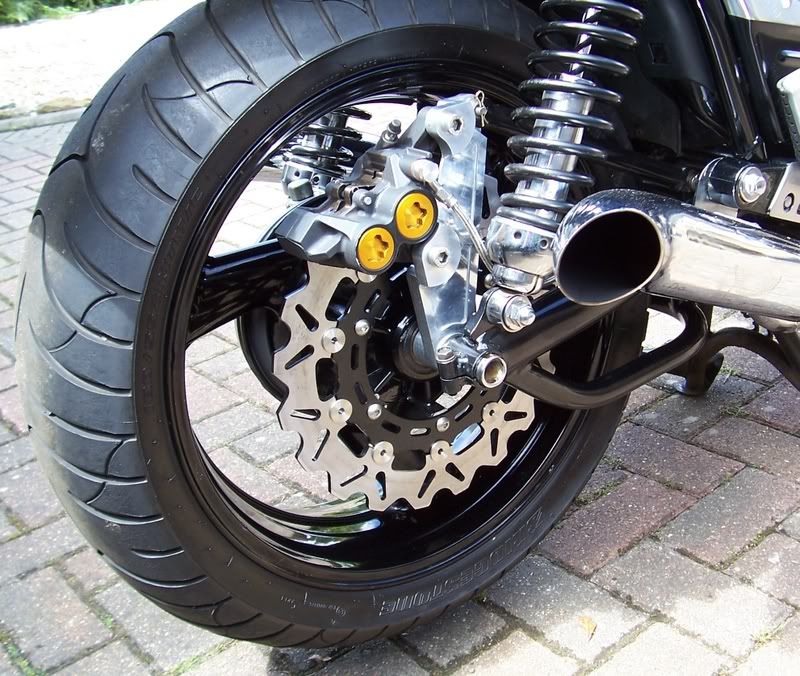
With only one warm day last week, I finally had a chance to ride the bike for about a half hour only to find out that one or both the front rotors is warped:damn angry:. I guess that's what I get for buying used. So, I figured might as well bite the bullet and ordered brand new rotors (same ones). If only one is warped I'll have to get one of those adapters to fit another wave rotor on the back.


 unk:. I never would have thought to use an impact wrench, and probably would have gotten myself in a little trouble.


