One more tip:
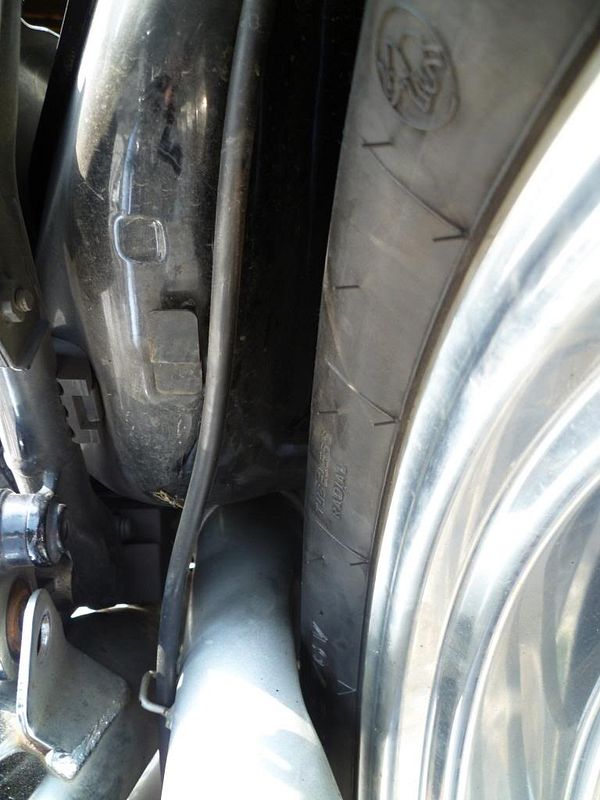
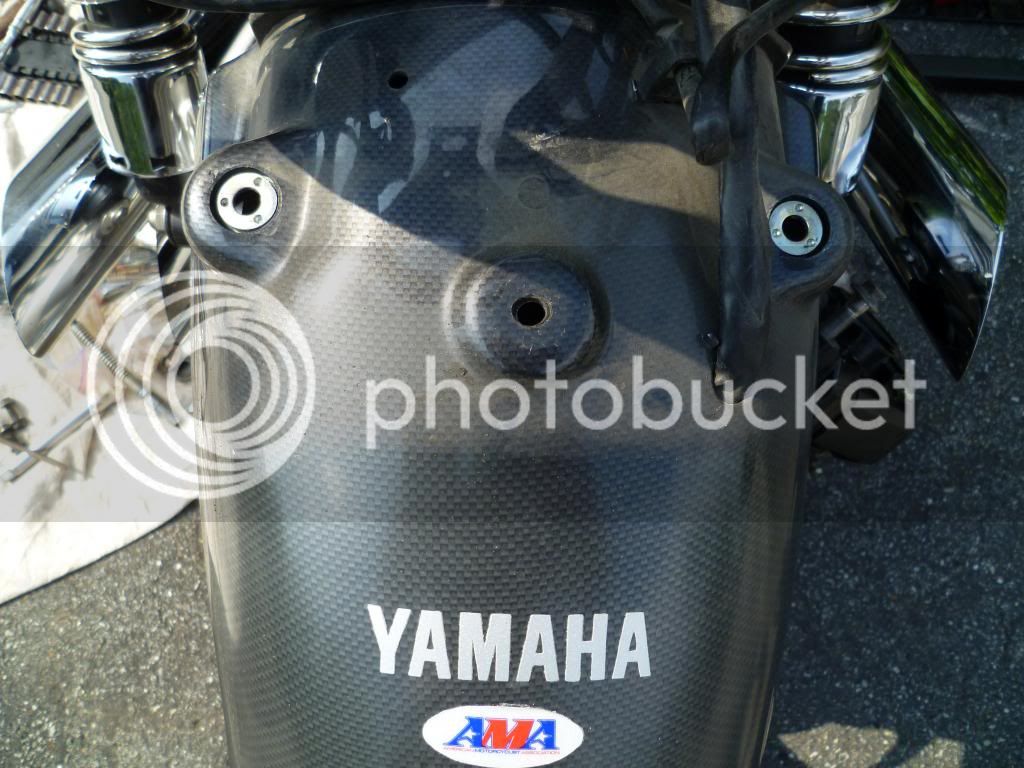
Again, with lowered bikes, the front part of the fender
(the indent where the seat latches are located)
will contact the tire.
This can be resolved by trimming out the indent,
or just letting the tire do that for you...
(the plastic from the fender will not hurt the tire at all,
& the 'trimming' happens pretty quickly...)
Again, hope this helps.